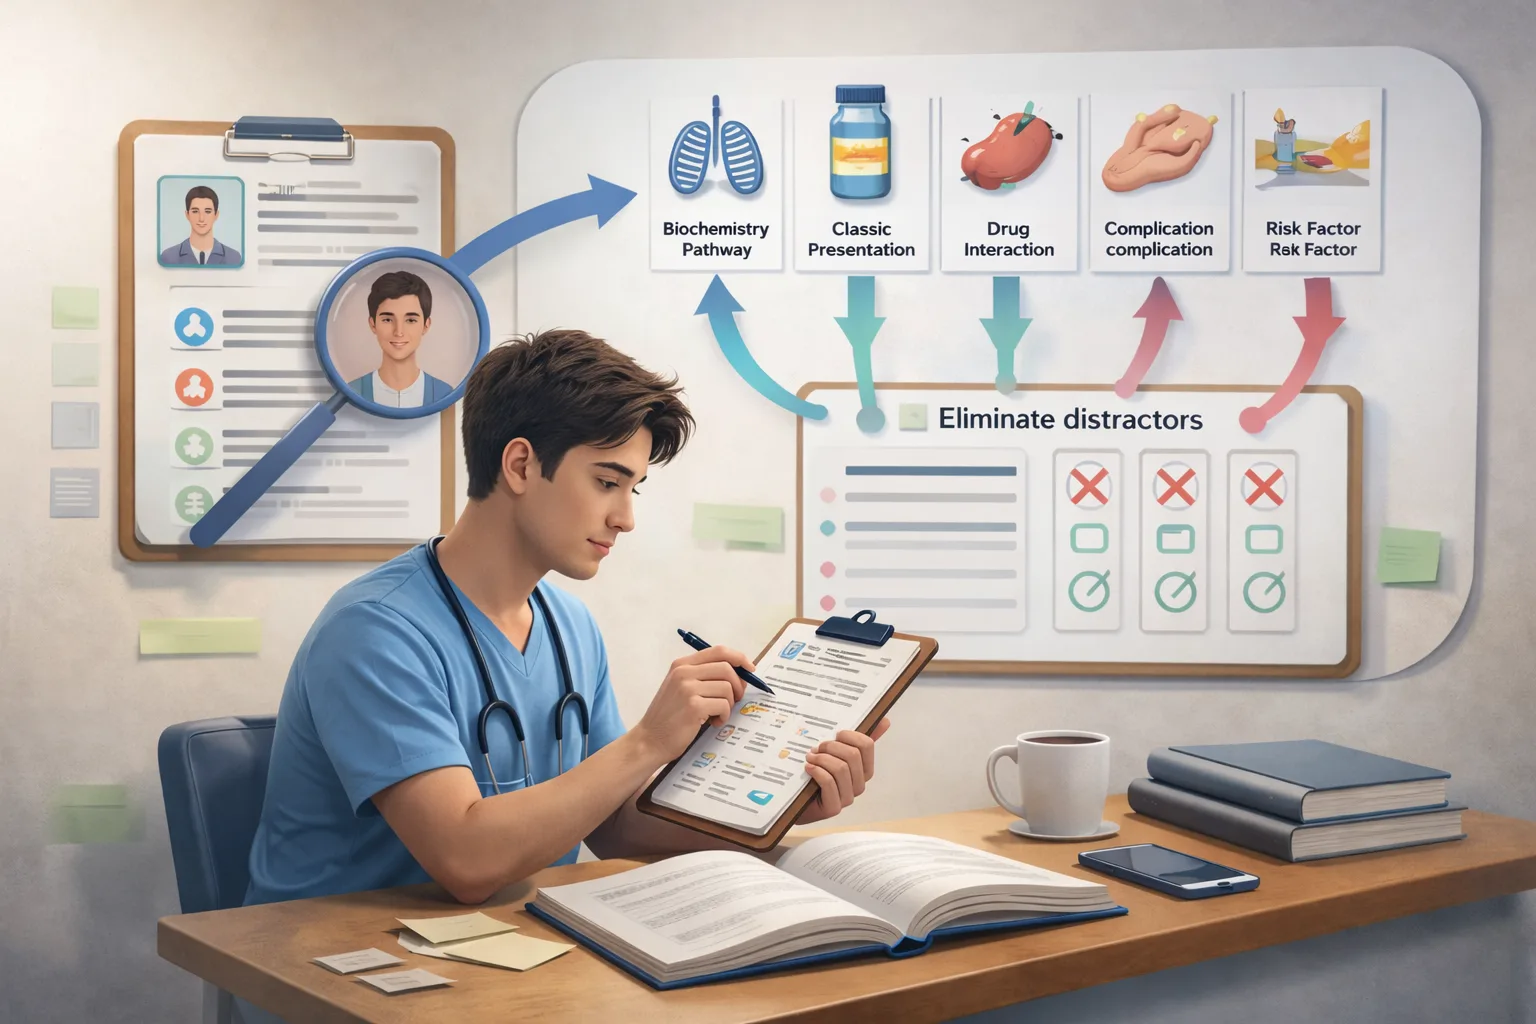
Step 1 is a single-day, computer-based examination delivered in seven 60-minute blocks within an eight-hour session. Each block contains up to 40 questions; the full form contains no more than 280 items. These parameters are not trivia—they drive your pacing targets, stamina plan, and daily practice set size. Blueprint coverage spans application of foundational sciences (biochemistry, physiology, pathology, microbiology, immunology, pharmacology, genetics) woven into clinical vignettes, figures, and data displays. Mastery is less about memorizing isolated facts and more about tracing mechanisms from molecule to bedside under time pressure. The USMLE program also publishes a cross-Step content outline that clarifies the competencies weighted on Step 1. Expect heavy emphasis on applying foundational science concepts and on diagnostic reasoning tasks. Treat this outline as your organizing scaffold; map questions, cards, and review notes to its categories so coverage is deliberate rather than accidental. Since January 26, 2022, Step 1 reports a pass/fail outcome only. Success therefore hinges on consistent performance in exam-fidelity conditions—not on chasing a three-digit score. Your job is to reach a stable accuracy floor across mixed, timed blocks and to confirm readiness with official self-assessments. Program directors still value steady knowledge acquisition, but the practical threshold for you is demonstrating reliability across content domains and maintaining accuracy while fatigued. Let the blueprint and your rolling performance dictate priorities; don’t over-index on anecdotes or social-media heuristics. Finally, normalize the interface and logistics early. The official Step 1 page links to the Bulletin of Information, eligibility rules, and practice materials (including the interactive testing experience and sample items). Completing these resources on a quiet, timed run reduces cognitive load on test day and turns the tutorial into optional reclaimed minutes for your break bank. Build your plan around the real exam, not a simulator approximation. Start with an honest diagnostic. Before “studying harder,” study smarter by identifying mechanisms you repeatedly miss. A 40–80-item mixed, timed block will surface early patterns (e.g., endocrine pathways, Gram-negative rods, acid–base graphs). If you are near or in the dedicated window, anchor your baseline with an official self-assessment (see Section 6). Translate misses into mechanism-level tasks (e.g., “RAAS pharmacology adverse effects,” “Type II hypersensitivity exemplars,” “glycogen storage enzymes”). Weekly cadence. Your atomic unit is the full mixed block under timed conditions. A sustainable pattern for most students: one to two mixed blocks daily, structured post-block analysis, and an evening spaced-repetition session. Reserve longer content reviews for clarifying mechanisms revealed by your question analysis—not as a prelude that delays question practice. Include a weekly simulation day during the last three weeks to test pacing and break routines against seven consecutive blocks. Metrics that matter. Track 7-day rolling accuracy in timed, mixed conditions; noise at the single-block level is expected. Monitor the “fatigue delta” (accuracy drop from first to second block) and the resolution of repeated error categories (e.g., you should see fewer repeats in “endo—thyroid physiology” after a micro-cycle). Schedule two official yardsticks (Section 6) to confirm trajectory. Retrieval practice (testing yourself to reconstruct answers from memory) produces superior long-term retention versus rereading. For Step 1, “retrieval” = mixed, timed question blocks + active flashcard recall. Each block forces hypothesis generation and distractor triage; each card prompts concise mechanism recall (“↑methylmalonic acid → B12 deficiency”). Across dozens of controlled experiments, test-enhanced learning confers robust retention benefits—especially when the final test is delayed, as in dedicated study. Spacing (distributed practice) beats massed sessions. Implement it with daily card reviews and scheduled “re-tests” of recent error mechanisms at 48–72 hours and, later, 7–10 days. Large-scale work characterizes how spacing intervals relate to desired retention windows; practically, you should set conservative daily card caps to avoid review debt and rotate mechanisms in small, frequent doses. Interleaving (mixing topics) improves discrimination among look-alikes—exactly what Step 1 requires when distinguishing nephritic vs nephrotic pictures, restrictive vs obstructive spirometry, or Gram-negative bacilli. Operationalize interleaving by running mixed blocks by default and, during review, explicitly contrasting similar entities in two columns (shared features vs discriminators). Controlled studies demonstrate interleaving’s advantage over blocked practice when transfer and discrimination are required. How to encode efficiently. After each miss, capture four lines: (1) decisive clue; (2) mechanism chain (genetics → protein → cell → organ → clinical); (3) distractor autopsy (why each wrong choice is wrong); (4) portable rule to reuse. Convert rules into brief cards (one fact or algorithm per card). Keep your error log compact—if it’s unwieldy, you will stop using it. For graph-heavy domains, add micro-heuristics (“Left-shifted O2 curve → ↑affinity; causes: ↓temp/↓CO2/↓2,3-BPG”). For pharm, encode class effects first, then prototypical exceptions. These practices align with high-utility techniques identified in broad reviews of effective learning. If you keep narrowing stems to two answers and picking the distractor, the problem may not be your medical knowledge. MDSteps shows the pivot clue, the trap answer, and the reasoning pattern behind the miss—then turns it into targeted practice. Block construction. Use timed, mixed mode for the majority of practice to emulate Step 1’s integration and to strengthen discrimination across systems. Reserve tutor mode for a narrow purpose: introducing an especially error-prone mechanism (e.g., glycogen storage disorders, lysosomal enzymes, or renal transporters) before returning to timed practice. Set a pre-block ritual (distraction controls, water, scratch board, timer awareness) and a post-block cap (e.g., ≤3 minutes per item during review) to prevent explanation grazing. Review discipline. Use a repeatable four-prompt script on every item: (1) What was the task (diagnosis, mechanism, next step)? (2) What was the decisive clue? (3) Why is my answer necessarily true? (4) Why is each distractor necessarily false? Extract one or two portable rules and write them as terse cards tagged to the USMLE outline category. Close the loop by scheduling a retest of that construct within 2–7 days (spacing window). Primary vs secondary resources. Pick one primary Qbank and commit to finishing it; add a secondary resource only if time permits and you can maintain review quality. Interface polish and explanation depth matter, but your technique matters more than the logo. Pair bank work with a reputable reference for mechanism clarification (e.g., concise pathophysiology or pharmacology texts). Avoid the trap of constantly switching sources seeking “easier” explanations—use your error log to target what you miss. Pattern inoculation. Treat frequent traps—premature closure, anchoring on an early lab result, or over-weighting buzzwords—as skills to train. Force a “disconfirming evidence” check before committing: if your working diagnosis is correct, what else must be present, and is it there? For two-step items (diagnosis → treatment; mutation → phenotype), pause long enough to verify the second step is logically entailed by the first. Finally, practice “first-pass commitment”: when confidence >60%, select, flag if needed, and move on. You will recover more points by answering fresh items than by orbiting a single borderline choice. Biostatistics/interpretation. Step 1 expects fluency with core measures and the logic behind them. Read prompts for the decision demand (effect size vs significance vs clinical utility). Keep common transforms at your fingertips, and when presented with a 2×2 table, compute what the question actually asks (often likelihood ratios or a predictive value under a stated prevalence). If a figure accompanies the vignette, label axes immediately and state the relationship out loud in your head (“as dose ↑, receptor occupancy ↑ to Bmax”). When error bars appear, identify whether they represent SD or SE and whether intervals overlap the null. Pathology images. When given histology or gross photos, inventory the pattern (architecture, cellularity, necrosis, inflammatory cells) and connect to mechanism (“caseating granulomas → Th1/IFN-γ; noncaseating → sarcoid-pattern”). For microbiology visuals, tether stains to structural features (acid-fast branching filament → Nocardia, catalase positive; encapsulated yeast with narrow-based budding → Cryptococcus). Experimental stems. Identify the manipulated variable, outcome measure, and the claim being tested. Translate jargon to a causal diagram: intervention → mediator → outcome; then decide whether the data support the proposed mechanism or only correlation. For pharmacology graphs, note shifts in potency (Kd/EC50) vs efficacy (Emax), and remember competitive antagonists shift right without lowering Emax, whereas noncompetitive antagonists depress Emax. Practicing these moves in mixed blocks—then codifying the rules into terse flashcards—pays dividends across multiple sections of the exam. CBSSA (NBME). The Comprehensive Basic Science Self-Assessment is the most exam-faithful gauge available to students. Use one early in dedicated to set a floor, then another 2–3 weeks before your target date to confirm consolidation under timed conditions. Interpret results in context: pair CBSSA performance with your 7-day rolling Qbank accuracy in mixed, timed blocks rather than treating a single score as destiny. Free 120 & Orientation. The USMLE provides >100 sample Step 1 items as a PDF and via the interactive testing experience. Run the interactive version at least once in a quiet, timed setting; it mirrors interface behaviors (including multimedia items) and lets you rehearse highlight/strike-through tools. Be aware that the question pool is periodically updated; focus on the process you are practicing (interface, pacing, review discipline) rather than over-fitting to any specific set. Practice Session at Prometric. If logistics or anxiety are major friction points, consider the NBME Practice Session (three 1-hour blocks) at a real test center. You’ll receive a percent-correct printout; the bigger benefit is environmental desensitization—locker routine, check-in, workstation, and the feel of 60-minute clocks. If you choose this, schedule it before your final simulation so lessons can be incorporated. Putting it together. Aim for two official yardsticks in dedicated and one or two full-length home simulations. After each, execute a 24-hour recovery/debrief cycle: categorize misses by mechanism, write 10–15 reusable rules, and schedule targeted micro-cycles over the next 72 hours. This keeps you focused on decision-readiness—stable accuracy under time pressure with a known break plan—rather than chasing numerical artifacts in a pass/fail era. Break math. You start the day with 45 minutes of break time, plus any time banked by finishing blocks early. Skipping the on-site tutorial (after practicing it at home) effectively converts tutorial minutes into extra break time. Pre-decide your break structure (e.g., short micro-breaks after Blocks 1–2, a longer fuel/reset after Block 4, and a final 5-minute reset before the last block). Keep snacks simple and familiar; hydrate modestly to avoid physiologic distractions. Pacing. Train to an average of ~72 seconds per question across the day. Use a two-pass rhythm per block: decisive first-pass commitments with flags for borderlines, then a timed second pass. Enforce a 90-second hard cap on any single revisit; you gain more points answering new questions than ruminating. Build this cadence during at least two seven-block simulations in your final month, using the same chair, lighting, and nutrition plan you’ll use at the center. Workflow and contingencies. Rehearse check-in, ID, locker use, and permitted items. Use on-screen highlight/strikethrough to offload working memory, but keep the stem uncluttered. If anxiety spikes, box-breathe for 20–30 seconds, restate the task (“diagnosis vs next step vs mechanism”), and hunt the decisive clue before rescanning options. If a tech issue occurs, notify staff immediately rather than troubleshooting yourself. Familiarize yourself with the USMLE’s exam-day information hub, which consolidates policies on personal belongings, admission, and breaks. Mindset. Treat each block as a fresh start. Don’t mentally carry a tough stem forward; write a brief anchor on your laminated board (“Task → Mechanism → Eliminate”) to reset attention. Small frictions compound over seven hours; minimizing decision-fatigue through pre-planning is a competitive advantage you control. Days −14 to −8: Close loops, don’t open new ones. Select 2–3 weak systems and one “universal” domain (biostats/ethics). For each, run daily micro-cycles: 20–30 targeted questions → 20-minute mechanism review → 10 flashcards → schedule a 48–72-hour retest. Continue one mixed, timed block per day for transfer. Keep evenings for spaced cards only; avoid late-night deep dives. If a mechanism resurfaces twice in a week, escalate with a mini-tutorial day only on that construct. Days −7 to −4: Full-length simulation and recovery. Complete a seven-block simulation using your exact break plan. The next day is active recovery: light cards, 40-item diagnostic on the two most-missed themes, movement, and sleep. Convert simulation misses into 10–15 rules and retire cards you now answer instantly to reduce review debt. Do one full run on the official interactive platform so the test-center interface feels routine. Days −3 to −1: Taper and finalize logistics. Run one lighter mixed block daily with aggressive card pruning. Confirm ID, scheduling permit, route, and exam-day kit (earplugs if allowed, snacks, layers). Protect sleep—banking rest beats last-minute cramming. Review the USMLE exam-day page and the break policy to avoid surprises. Night before: assemble your kit, briefly skim your Rapid-Review list, and stop.1) Step 1 Essentials: Format, Blueprint, and What “Success” Means Now
2) Converting the Blueprint into a Plan: Diagnostic → Weekly Cadence → Daily Blocks
Phase Daily Core Targeted Supplements Primary Goal Weeks −10 to −7 1 mixed block (timed) 60–90 min mechanism review; 30–45 min spaced cards Identify recurring error themes; build concise error log Weeks −7 to −4 1–2 mixed blocks (timed) Micro-cycles on weak domains (20–30 Qs → 20-min review → 10 cards) Close knowledge gaps; improve fatigue tolerance Weeks −4 to −2 2 mixed blocks (timed) Weekly full-length simulation + debrief next day Calibrate pacing, breaks, and interface habits Final 7 days 1 lighter mixed block Rapid-review lists; sleep protection; logistics check Consolidate and taper cognitive load 3) Learning Science That Works: Retrieval, Spacing, and Interleaving—Operationalized
Learn the patterns behind your misses. Break the plateau.
Still missing questions you thought you understood?
4) Building With Questions: Block Setup, Review Discipline, and Secondary Resources
5) Mastering Data-Heavy Items: Biostats, Graphs, Path, and Experimental Stems
Biostats Quick Formulas Interpretation in Vignettes Sensitivity = TP/(TP+FN); Specificity = TN/(TN+FP) Screens vs confirmatory tests: high Sn to rule out; high Sp to rule in PPV/NPV depend on prevalence Expect PPV to drop as disease prevalence falls (screening in low-risk groups) LR+ = Sens/(1−Spec); LR− = (1−Sens)/Spec Update pre-test → post-test probability (Fagan-style) when LR is provided ARR = CER−EER; NNT = 1/ARR Ensure units (proportion vs percent) before inverting; report to whole number 6) Calibrating Readiness with Official Tools: CBSSA, Free 120, Orientation & Practice Session
7) Exam-Day Mechanics: Pacing, Break Strategy, and Test-Center Workflow
8) Two-Week Accelerator & Rapid-Review Checklist
Rapid-Review Checklist (print for dedicated):
References & Official Resources
USMLE Step 1
USMLE Step 1: What You Need to Know to Succeed

For students stuck despite doing more questions
UWorld explains the medicine. MDSteps explains the decision.
Traditional review often tells you the correct answer. MDSteps helps isolate the decision error: the missed pivot clue, the tempting distractor, the timing mistake, or the weak rule that failed under pressure.
Full access includes Step 1, Step 2 CK, Step 3, CCS cases, analytics, auto-flashcards, and study planning.
Pivot-clue review
See the exact phrase in the stem that should have changed your decision.
Distractor trap logic
Learn why the answer you almost picked felt right—and why it was wrong for this patient right now.
Miss-pattern analytics
Turn repeated mistakes into targeted blocks, flashcards, and readiness signals.
Score stuck after more questions?
Free reasoning diagnostic
Pivot clue isolatedDistractor trap explainedNext study target identified
No credit card required for the free reasoning review. Full access is $27/month after that. Cancel anytime.
Reasoning diagnostic
Still missing the same kinds of questions?
Read why that happens.